

If you’re treating dyehouse effluent, the short answer is this: no single machine handles textile dyeing wastewater. You need a treatment train — equalization, chemical or biological color removal, and then a concentration or dewatering step for the reject stream. The equipment that actually decides your operating cost is usually the last stage: the evaporator, the membrane skid, or the sludge press. I’ve watched plants spend heavily on biological treatment and then get stuck because nobody sized the brine handling properly. This article walks through how I select and sequence textile dyeing wastewater treatment equipment, what each unit really does, and where the money goes over a 10–15 year life.
What Makes Textile Dyeing Wastewater Hard to Treat
Dyehouse effluent is not one stream. It’s a rotating mix of batch dumps from dyeing, washing, rinsing, and finishing. That variability is the real engineering problem, not the color itself.
Here’s what I look at first when I walk into a plant:
- Color and COD — reactive and disperse dyes are designed to resist degradation. That’s the whole point of a dye. So biological systems alone often stall.
- High salt content — especially in reactive dyeing, where salt (sodium chloride or sulfate) is dosed at high concentrations to drive exhaustion. This kills conventional RO and shocks biology.
- Alkali and pH swings — batch dumps can swing pH from 4 to 11 within hours.
- Surfactants and finishing agents — these foam, foul membranes, and carry over into evaporators.
- Temperature — spent dye baths often arrive hot, sometimes 50–60 °C, which is a gift for evaporation and a problem for membranes.
If you don’t equalize, everything downstream inherits the chaos. I’ve seen a 2,000 m³/day plant fail acceptance because the equalization tank was sized for average flow instead of peak batch discharge. That’s a design error, not an equipment failure.
Building the Treatment Train: Stage by Stage
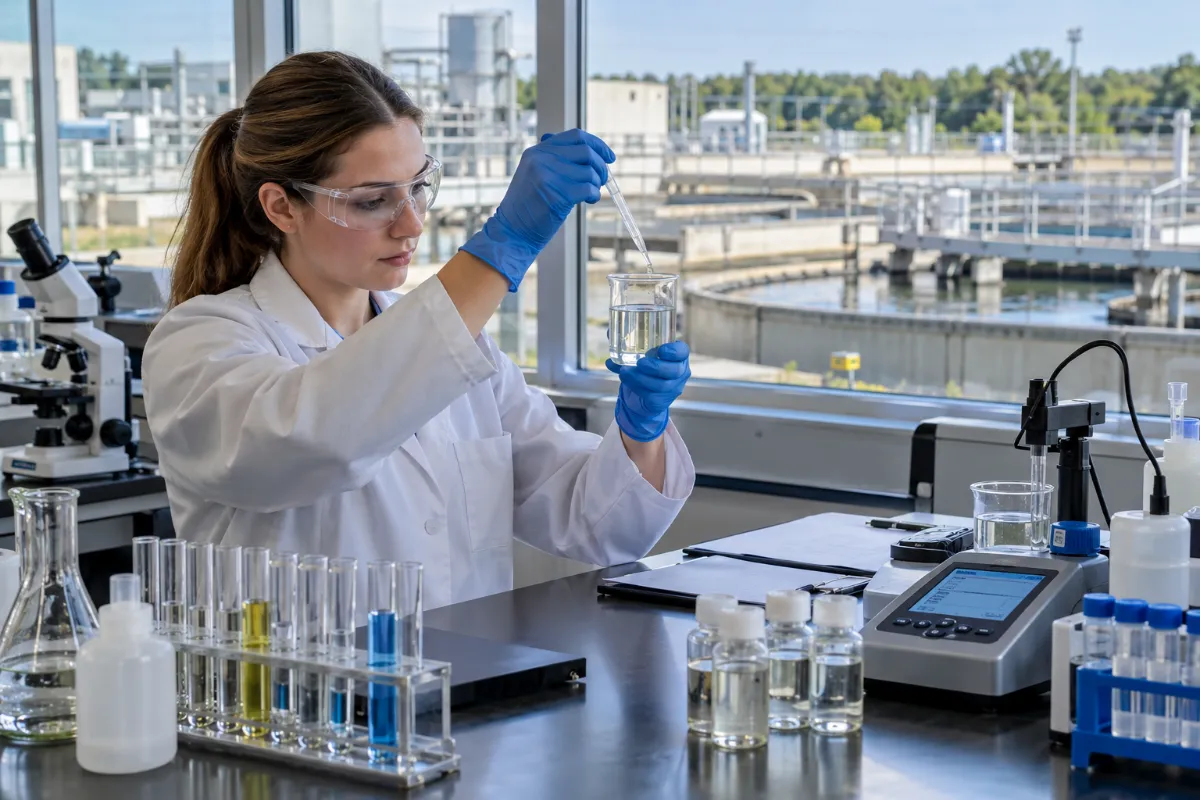
I design in stages, and I size each stage against the stream it actually sees — not against the plant’s total flow. That distinction saves more money than any single equipment upgrade.
Stage 1 — Equalization and Pretreatment
Minimum 8–12 hours of hydraulic retention, longer if you have batch dumps. Add pH correction, screening, and often coagulation-flocculation for color and suspended solids. This stage is boring and cheap, and skipping it is the most common mistake I see.
Stage 2 — Biological Treatment
An anaerobic-aerobic sequence (sometimes with a membrane bioreactor) handles the bulk of the COD and BOD. It’s the workhorse. But it will not reliably remove color from reactive dyes, and it does not remove salt. Know its limits before you design the back end.
Stage 3 — Color and Residual COD Polishing
Options include advanced oxidation, activated carbon, or a membrane separation step. Selection depends on whether you’re chasing a discharge limit or a reuse target. These are different problems with different price tags.
Stage 4 — Concentration and Volume Reduction
This is where the reject stream from upstream stages gets handled. If you have a high-salt or high-COD stream that can’t go to discharge, you concentrate it. This is the stage that most often gets under-designed.
Stage 5 — Sludge and Solids Handling
Every chemical and biological stage produces sludge. How you dewater it determines your hauling cost, which for many plants is the single largest recurring line item.
Choosing the Right Concentration Technology
When the reject stream is high in dissolved solids, you have three realistic families: membranes, thermal evaporation, and a hybrid. Let me lay out how I decide.
| Technology | Best Fit | Typical Feed TDS | Key Limitation |
|---|---|---|---|
| Industrial RO | Low-salinity, low-fouling streams, reuse | Up to ~15,000–25,000 mg/L (project-dependent) | Fouls on dyes, surfactants, and organics |
| DTRO (disc-tube RO) | High-fouling, high-salinity streams | Up to ~40,000–60,000 mg/L (indicative) | Concentrate still needs disposal |
| MVC evaporator | High-salt, high-COD concentrate | Broad range, works well above RO limits | Power draw; scaling on heat exchangers |
| MVR evaporator | Large flows where steam is scarce | Broad range | Higher capex; compressor maintenance |
| Multi-effect evaporator | Where low-cost steam is available | Broad range | Steam dependence; larger footprint |
For textile dyeing specifically, I rarely go straight to evaporation. I try to recover as much water as possible with membranes first, then evaporate the small concentrate. That reduces evaporator size, which reduces both capex and energy. The trade-off is membrane fouling — dyehouse streams are aggressive, so you need robust pretreatment and realistic cleaning cycles.
If you’re working through the membrane side, the DTRO membrane systems page covers the disc-tube configuration and where it fits against conventional spiral-wound RO. For the thermal side, the wastewater evaporator overview is a reasonable starting point.
Evaporator Selection: MVC, MVR, or Multi-Effect?
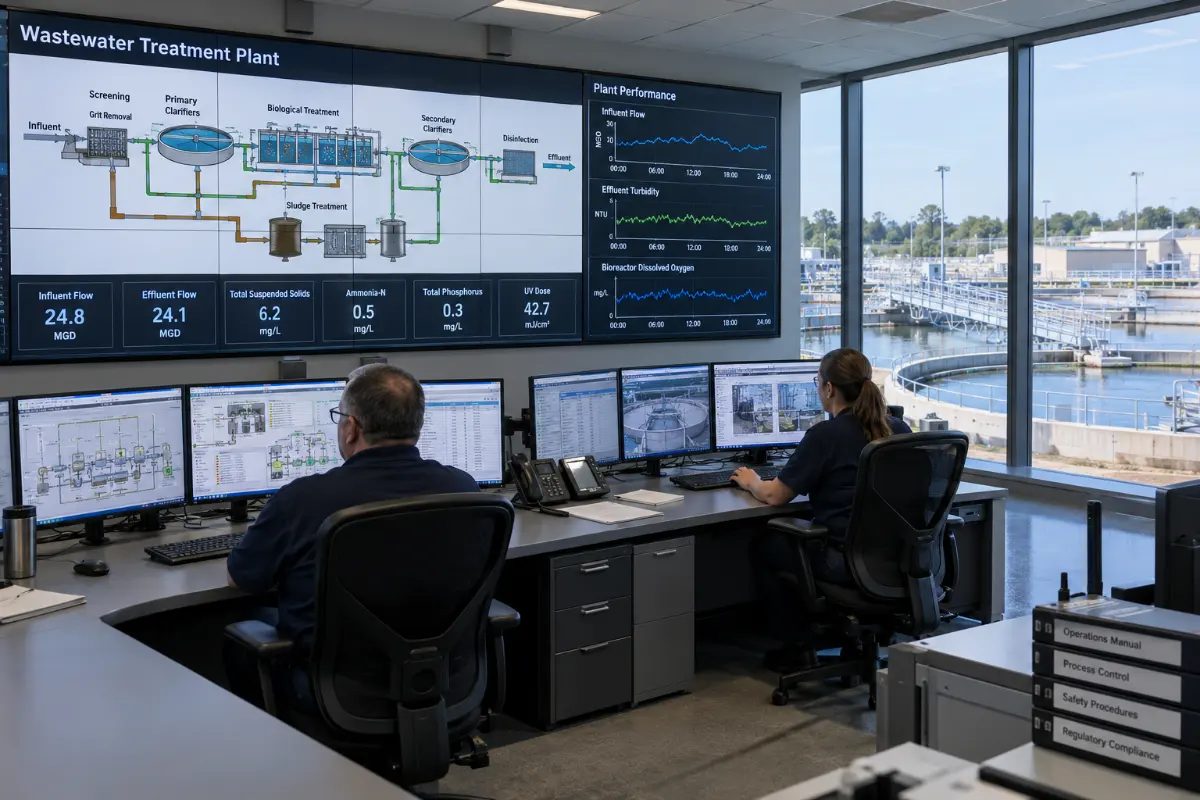
This is the question I get asked most, and the honest answer is: it depends on your energy price and your steam availability, not on the equipment itself.
Mechanical Vapor Compression (MVC)
MVC uses a compressor to recompress the vapor and reuse it as the heating medium. It’s electrically driven and needs almost no external steam once running. For a dyehouse with a high-salt concentrate and no boiler capacity to spare, this is often my first choice. The MVC evaporator design handles high TDS well, and the heat exchanger material is the critical spec — with chloride-rich streams, you’re looking at titanium or duplex, not 316L.
Mechanical Vapor Recompression (MVR)
MVR and MVC overlap in concept; the terminology gets used loosely. What matters practically is compressor type and pressure ratio. If you need a higher boiling-point elevation, you pay for it at the compressor. I’ve written about the distinction in more detail on the MVR technology page, but the short version is: match the compressor to the required temperature lift, or you’ll be replacing it early.
Multi-Effect Evaporators
If you have cheap steam — say from an existing boiler with spare capacity — a multi-effect arrangement can beat MVC on operating cost. Each additional effect reuses the vapor from the previous one, so steam consumption drops roughly in proportion to the number of effects. The catch is capital cost and footprint. For a dyehouse with limited plot space, a triple-effect unit may simply not fit.
I usually run a quick comparison: energy cost per cubic meter evaporated for each option, then add the maintenance reality. Compressors need overhaul intervals. Heat exchangers need cleaning. Steam systems need boiler upkeep. The cheapest on paper is rarely the cheapest in year five.
Sludge Dewatering: The Cost You Can’t Ignore
Textile dyeing produces a lot of chemical sludge from coagulation and biological sludge from treatment. If you’re hauling it off-site at 15–20% dry solids, you’re paying to move water. Getting that to 25–35% dry solids with a screw press or similar changes the economics meaningfully.
A screw press sludge dewatering unit is my default for this stream. It’s low-speed, low-noise, low wash-water demand, and it tolerates the fibrous material that shows up in textile sludge. Centrifuges can hit higher dryness but cost more in power and maintenance. Belt presses are cheaper upfront but need more operator attention.
One thing I’d flag: polymer selection drives everything here. I’ve seen plants blame the press when the real issue was a conditioning program that didn’t match the sludge. Run jar tests, then pilot.
If you want the selection logic in more depth, the screw press dewatering guide walks through it.
Energy, Chemicals, and Lifecycle Cost
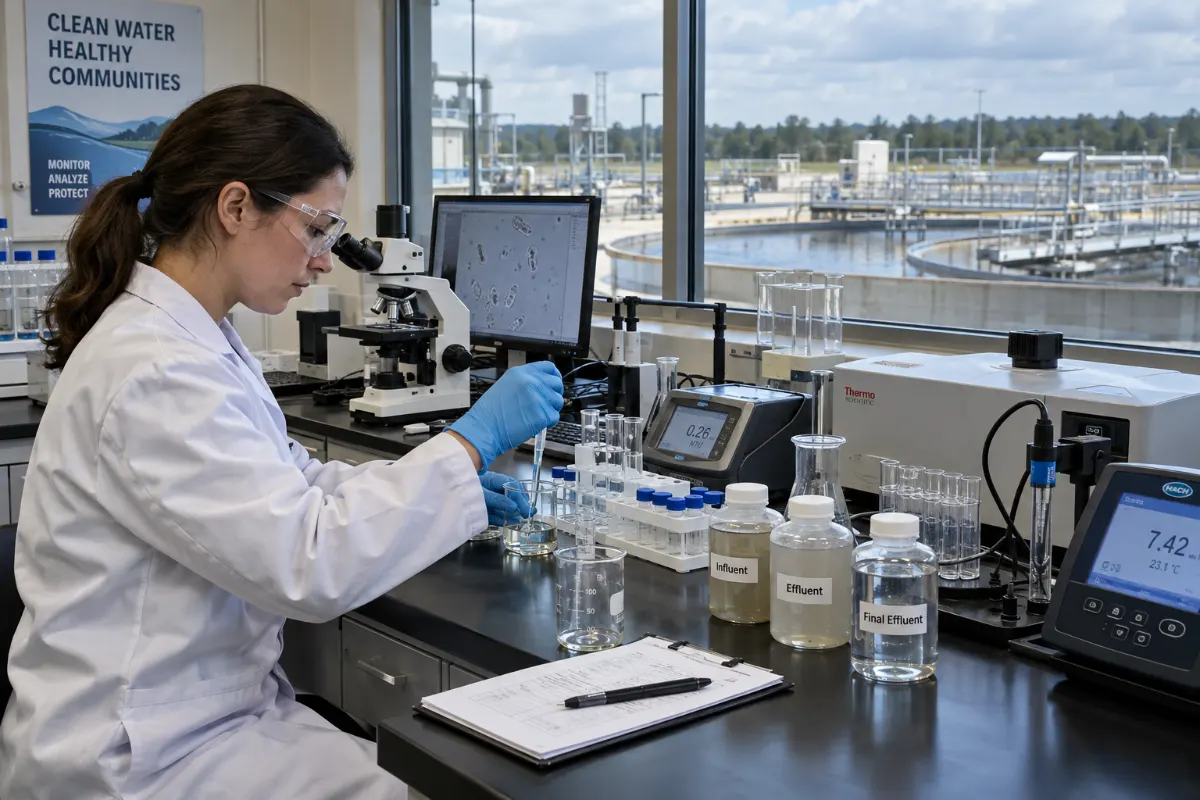
Nobody buys treatment equipment for fun. You buy it because you have to, and then you live with the operating cost for a decade. So let me be blunt about where the money actually goes.
| Cost Category | Typical Share of OPEX | What Drives It |
|---|---|---|
| Electricity | 30–50% | Compressor duty, pumps, aeration |
| Chemicals | 15–30% | Coagulants, polymers, pH correction, antiscalant |
| Sludge disposal | 10–25% | Dry solids content, hauling distance, local rates |
| Maintenance | 8–15% | Compressor overhauls, membrane replacement, heat exchanger cleaning |
| Labor | 5–15% | Automation level, operator skill |
These ranges are indicative and project-dependent — a plant with cheap hydro power and expensive landfill will look completely different from one with the opposite. But the ranking is usually stable: energy first, chemicals second, disposal third.
The lever with the biggest payoff is volume reduction. Every cubic meter you evaporate or reuse instead of discharge is a cubic meter you don’t pay to treat, pump, or dispose of. That’s why I push hard on the concentration stage even when it’s the most expensive line item upfront.
Common Failure Modes and How to Avoid Them
After enough projects, the failures start to rhyme. Here are the ones I see repeatedly.
Scaling in the Evaporator
Calcium sulfate and carbonate scale on heat transfer surfaces kills efficiency fast. Antiscalant dosing, seed recycling, and regular cleaning cycles are not optional. If your feed hardness is high, pretreat it — softening is cheaper than a new heat exchanger bundle.
Membrane Fouling and Dye Adsorption
Dyes adsorb onto membrane surfaces and don’t always come off with standard cleaning. You need the right cleaning chemistry and realistic recovery expectations. If someone promises 90% recovery on raw dyehouse effluent, ask for the pilot data.
Foaming and Carryover
Surfactants foam in equalization tanks, biological basins, and evaporators. Defoaming, adequate freeboard, and mist eliminators on the evaporator handle most of it. Under-sizing freeboard is a classic error.
Corrosion
Chloride-rich streams destroy carbon steel and 304 stainless. Specify materials against the actual chloride concentration and temperature, not against a generic “stainless steel” note on a datasheet.
Instrumentation Drift
pH, conductivity, and level instruments in dyehouse service drift. Build in calibration routines and don’t automate so heavily that operators stop looking at the process.
Zero Liquid Discharge: When It Makes Sense
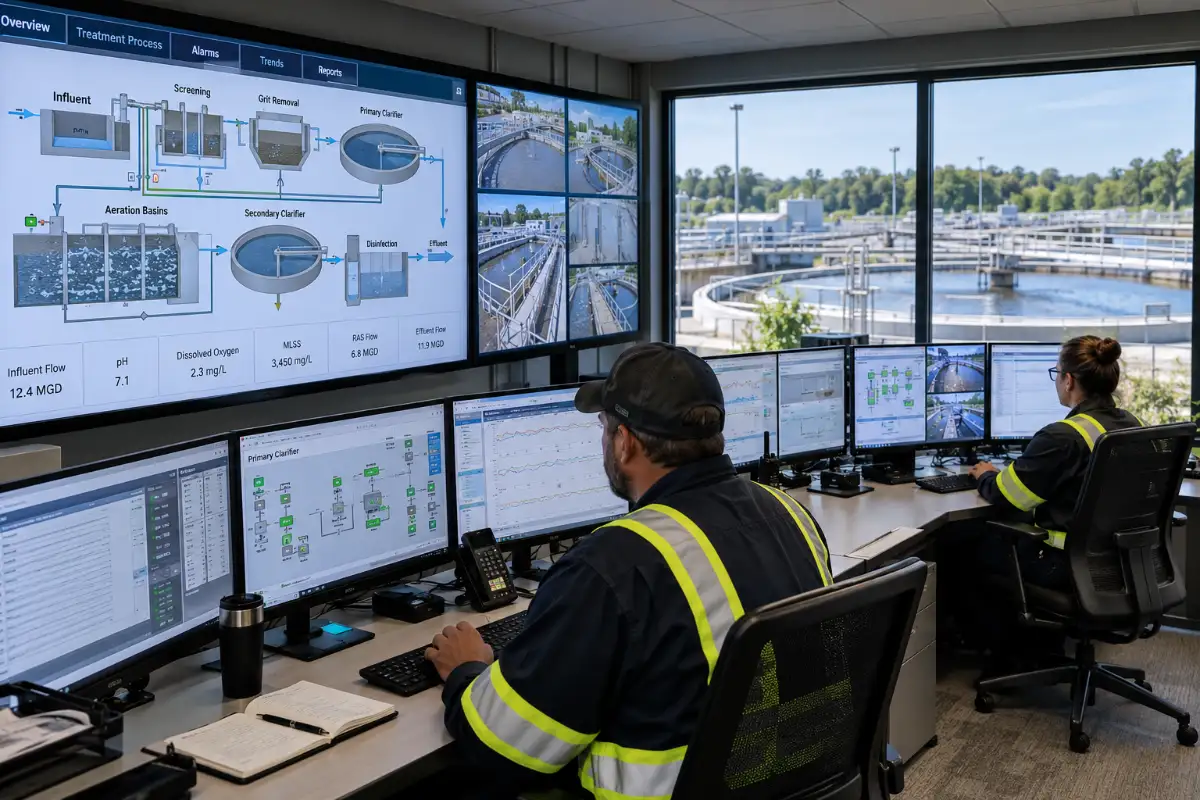
ZLD is a real option for textile dyeing, but it’s not automatically the right one. It makes sense when discharge permits are unavailable, when water reuse has real value, or when the local regulator effectively forces it.
A typical ZLD train for dyehouse effluent looks like this: pretreatment → biological → membrane concentration → thermal evaporation → crystallizer or spray dryer for the final solids. Each stage adds capex and energy. The ZLD systems overview covers the full architecture if you’re evaluating it.
My honest take: ZLD is justified when the alternative is a plant shutdown, or when water recovery genuinely offsets the energy cost. Otherwise, a partial-reuse design with treated discharge is usually the better economic choice.
“The most expensive mistake in dyehouse wastewater treatment is sizing the front end for average conditions and the back end for best-case conditions.”
That’s a line I’ve used in design reviews for years, and it holds up. Front-end variability is real; back-end equipment must be sized for the worst feed it will see, not the average.
How I Approach Selection in Practice
When someone sends me a dyehouse effluent profile, here’s the sequence I run:
- Characterize the stream properly. Not one grab sample — a composite over a full production cycle. COD, BOD, TDS, chloride, sulfate, hardness, color, pH, temperature, surfactants.
- Define the goal. Discharge, reuse, or ZLD. Each leads to a different train.
- Size equalization first. Get the variability under control before anything else.
- Pick the concentration technology last. Its size depends on everything upstream of it.
- Model the OPEX honestly. Energy price, chemical cost, disposal cost, maintenance interval. If the numbers don’t work at year one, they won’t work at year ten.
- Pilot the critical stage. If the stream is unusual or the limit is tight, pilot it. A pilot costs a fraction of a failed full-scale system.
If you’re at the point where you want a second opinion on the train or the sizing, that’s a conversation worth having before you commit capital. You can reach the engineering team through our contact page.
Maintenance Planning That Actually Works
Maintenance is where good designs quietly fail. I build a maintenance plan around the equipment that has the highest consequence of failure, not the highest frequency.
- Compressors — scheduled oil analysis and overhaul intervals. Don’t wait for vibration alarms.
- Heat exchangers — track approach temperature. When it drifts, clean. Don’t wait for a scheduled shutdown.
- Membranes — log normalized flux and differential pressure. Cleaning should be triggered by data, not calendar.
- Pumps — seal and bearing checks. Dyehouse streams are abrasive and corrosive; seals fail.
- Instrumentation — monthly calibration on pH and conductivity. These drift and quietly ruin chemical dosing.
- Screw press — check polymer dosing, wash water, and screw wear. Dry solids content tells you when something’s off.
Spare parts strategy matters too. Long-lead items — compressor internals, membrane elements, specialty heat exchanger tubes — should be stocked or contracted. A three-month wait for a compressor part is a three-month production loss.
Frequently Asked Questions
What equipment is actually required for textile dyeing wastewater treatment?
At minimum: equalization, pH correction, chemical or biological treatment, and sludge dewatering. If you have high salinity or a reuse/ZLD target, add membrane concentration and thermal evaporation. The exact train depends on your discharge limits and whether reuse is required.
Can I use RO alone to treat dyehouse effluent?
Rarely. Conventional RO fouls quickly on dyes, surfactants, and organics. You need pretreatment and often a high-fouling-resistant configuration like DTRO. Even then, the concentrate needs further handling.
How much does a dyehouse wastewater evaporator cost to run?
Energy is the dominant cost, typically 30–50% of OPEX. The exact figure depends on your electricity price, the number of effects or whether you use MVC/MVR, and the volume evaporated. Volume reduction upstream is the most effective way to cut this cost.
MVC or multi-effect — which is better for a dyehouse?
If you have cheap steam and space, multi-effect can win on operating cost. If steam is limited or expensive, MVC usually wins. Compare energy cost per cubic meter evaporated, then add maintenance reality.
How do I reduce sludge disposal costs?
Improve dewatering. Moving from 15% to 30% dry solids roughly halves the mass you haul. A screw press with the right polymer program is usually the most cost-effective upgrade. Also, review upstream chemical dosing — over-dosing coagulants creates sludge you didn’t need.
What causes scaling in the evaporator, and how do I prevent it?
Calcium carbonate and calcium sulfate are the usual culprits. Prevent it with softening, antiscalant dosing, seed recycling, and regular cleaning. Track approach temperature to catch scaling early.
Is zero liquid discharge realistic for a mid-size dyehouse?
It’s technically achievable, but the energy and capital cost are significant. It’s usually justified when discharge isn’t permitted or when water reuse has real value. Otherwise, partial reuse with compliant discharge is often the better economic choice.
How long does it take to commission a full treatment train?
For a mid-size dyehouse, expect several months for design and fabrication, then weeks to a few months for commissioning, depending on the train complexity and whether a pilot was run. Evaporator commissioning alone can take two to four weeks to stabilize.
What’s the biggest design mistake you see?
Sizing equalization for average flow instead of peak batch discharge. Everything downstream inherits that error, and it shows up as unstable performance that no amount of equipment tuning can fix.
Closing Thoughts
Textile dyeing wastewater treatment is a sequencing problem before it’s an equipment problem. Get the equalization right, understand what each stage can and can’t remove, and size the concentration and dewatering stages for the worst feed they’ll see. The equipment you choose matters, but the order you put it in and the way you size it matters more. If you’re planning a new train or fixing one that never quite worked, start with a proper stream characterization and a realistic OPEX model — everything else follows from those two things.